How to make a 3D mockup from a screenshot
A good mockup helps someone see your design in context. Start with one screen, one device and a clear idea of what you want to show.
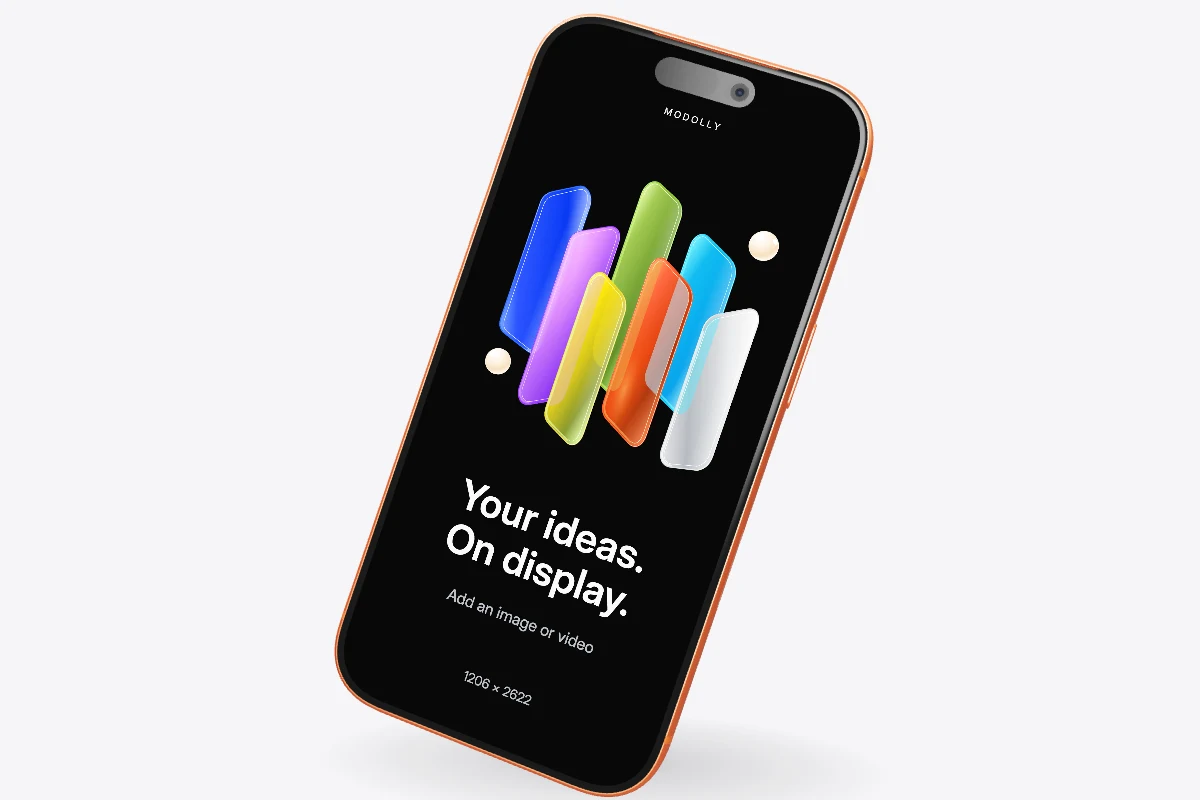
You do not need to model a phone or learn a 3D animation package to present an interface. In Modolly, you can start with a device scene, add a screenshot and adjust the composition in your browser. This guide walks through a simple first project, from the source image to a finished file.
1. Choose the screen your design belongs on
Open Templates and choose a device and scene. A phone suits a mobile flow; a laptop gives a desktop layout more room. Use the Free and Pro labels to check access before starting.
The device is chosen when you create the project. Take a moment to check the model and orientation before editing. If you are still exploring, the public mockup library lets you browse by device type.
2. Add your screenshot
Export a clean PNG, JPG or WebP from your design tool, or capture your app at its intended screen size. Drag the file onto the canvas or choose it in the Screen panel. For a changing interface, you can use an MP4 recording instead.
Check the screen edges before moving on. Center crop fills the display but can trim your image. Fit keeps the whole image visible and may leave space around it. A capture with proportions close to the device screen usually needs fewer adjustments.
Pay particular attention to the top navigation, bottom controls and camera cutout. A beautifully framed device is less useful if it hides the part of the interface you meant to show.
3. Find a clear, deliberate angle
Begin with the front view. Drag to rotate the device and use the wheel to zoom. A small turn adds depth while keeping text readable; a steep angle is better for a hardware detail than a dense interface.
Adjust the device finish and screen brightness, then choose a neutral background in Scene. Leave enough space around the device for the final composition. Check it at the size it will appear in your portfolio or presentation, not only at full size in the editor.
4. Add motion when it helps the story
A still screenshot can stay on the screen while the device moves. Switch to Video, choose Add animation and start with a preset. Play the full timeline before changing it.
Move a clip to change its timing, drag its edges to adjust its length, or use the Animation panel to refine keyframes. Keep camera movement gentle when a screen recording is also playing: the viewer needs time to follow the interface.
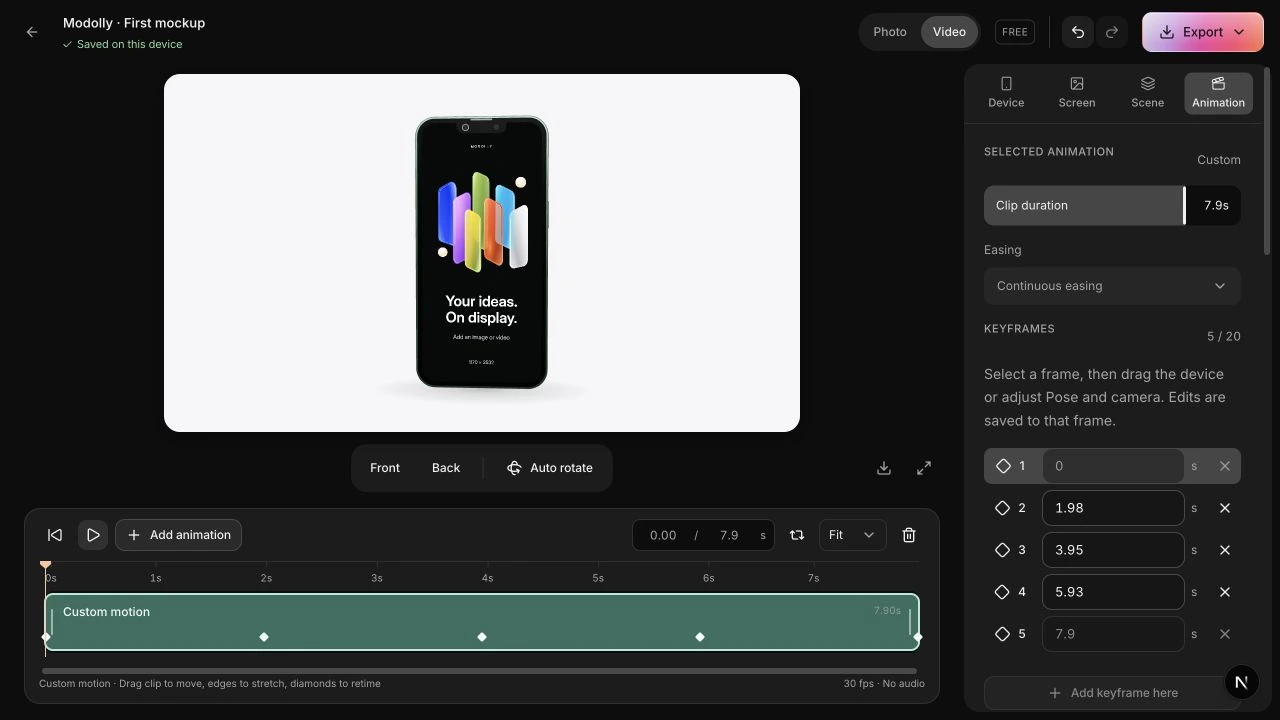
The animation guide includes a short demonstration if you want to see the controls in use.
5. Export the result, then keep a backup
Choose PNG for a still image, or MP4 for the animated timeline. Open Export and check the size and other available options. Resolution and duration depend on your plan; video export also depends on your browser and device. Current MP4 exports are silent.
Review the downloaded file at its intended display size. Look for cropped screen content, unreadable text and movement that feels too fast. Adjust the scene and export again if needed.
Your project and imported media are saved in this browser. They do not automatically appear on another computer, and clearing browser data can remove them. Download a .modolly project backup to keep the editable project and your media separately from the finished image or video. Platform models are referenced by the backup and still need an online connection to load.
See saving and restoring projects before moving to another browser or clearing storage.
Start with one screen.
Choose a scene, bring in your design and get the first frame right. You can build the motion from there.
Create your first mockup